
When you’re planning a party, wedding, or any special event, your invitation sets the tone. A beautifully designed invite instantly makes guests excited — and the best part? You don’t need a design degree or fancy equipment to create them. With a few smart tricks, you can make DIY invitations that look like they came straight from a boutique print shop.
Choose a Theme and Style First
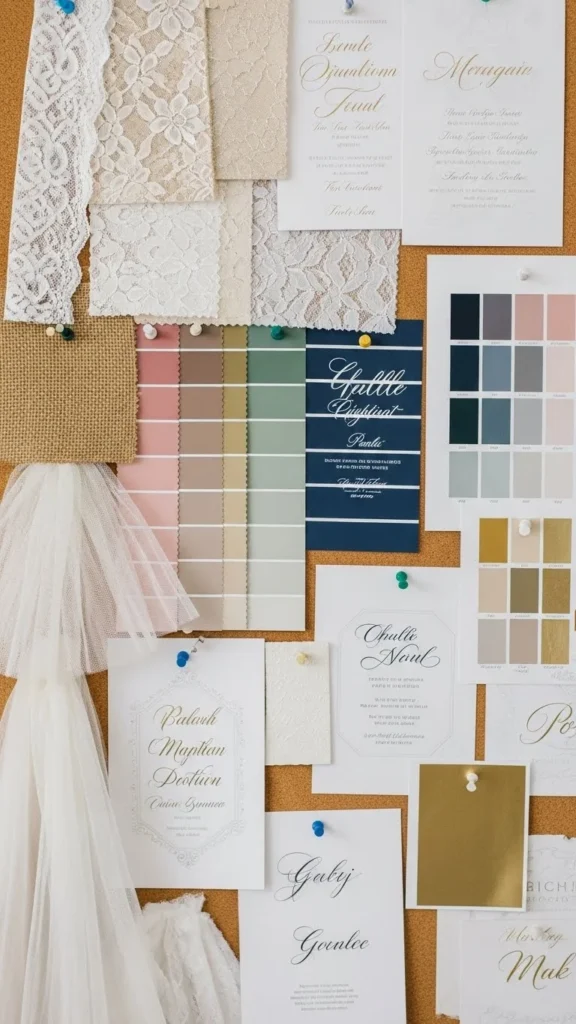
Before diving into design software or cutting paper, decide on your overall vibe. Is it minimalist, rustic, floral, or modern glam? Your theme will guide every design choice, from font styles to envelope colors.
- Rustic: Think kraft paper, twine, and earthy tones.
- Modern: Crisp typography, clean lines, and monochrome palettes.
- Romantic: Soft pastels, florals, and elegant cursive fonts.
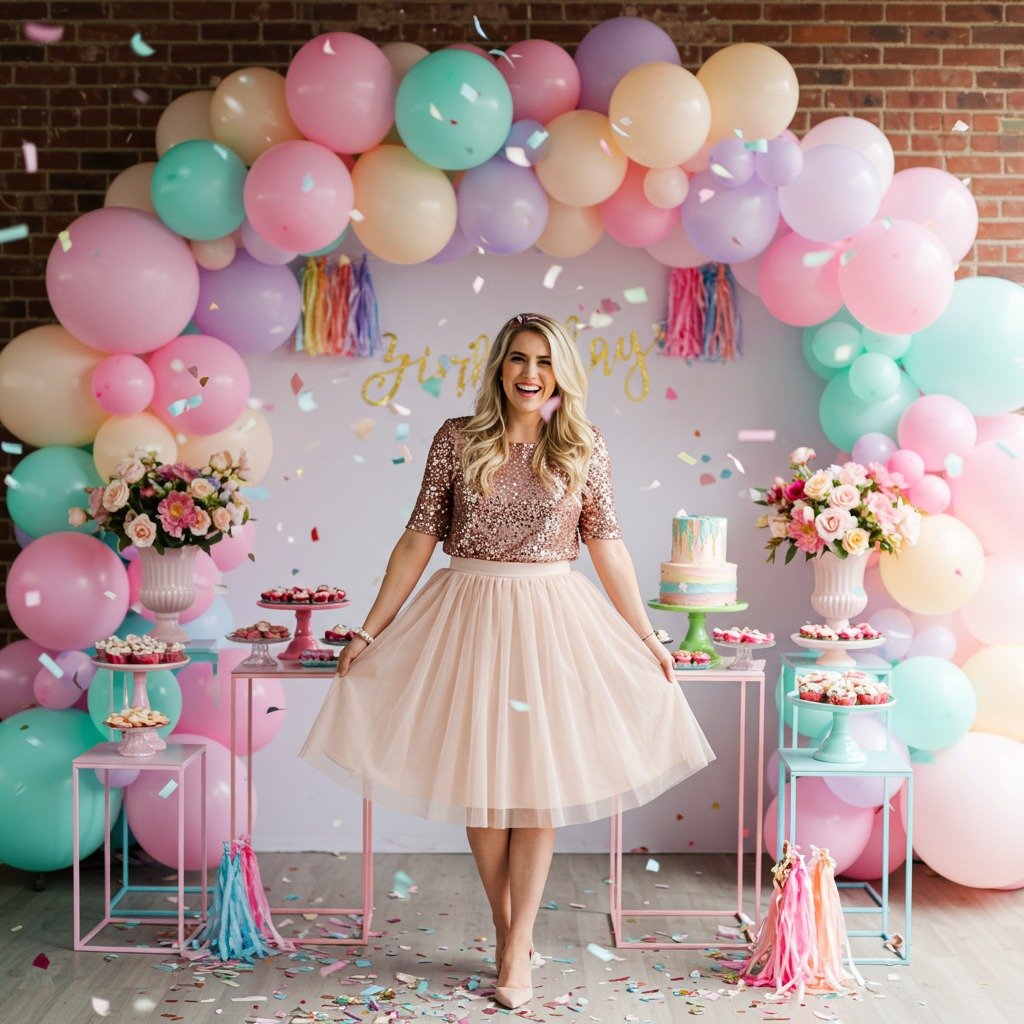
- Playful: Bright colors, whimsical illustrations, and fun shapes.
If you’re unsure, browse Pinterest or event blogs for inspiration. Create a quick mood board — it helps you stay consistent.
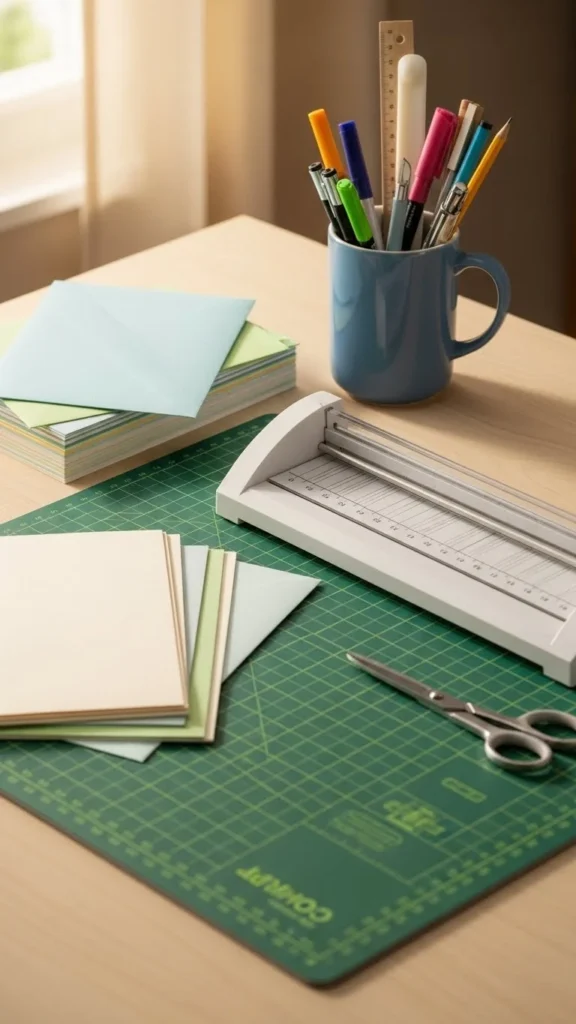
Pick the Right Tools and Materials
You don’t need an industrial printer to create professional-quality invitations. A few affordable supplies can elevate your DIY results dramatically.
Essentials You’ll Need:
- High-quality cardstock (80–110 lb works great)
- Inkjet or laser printer with fresh ink
- Paper cutter or precision scissors
- Ruler and bone folder for clean folds
- Envelopes in coordinating colors
If you want to go the extra mile, use textured paper or add a vellum overlay. These small details instantly give your invites a luxury feel.
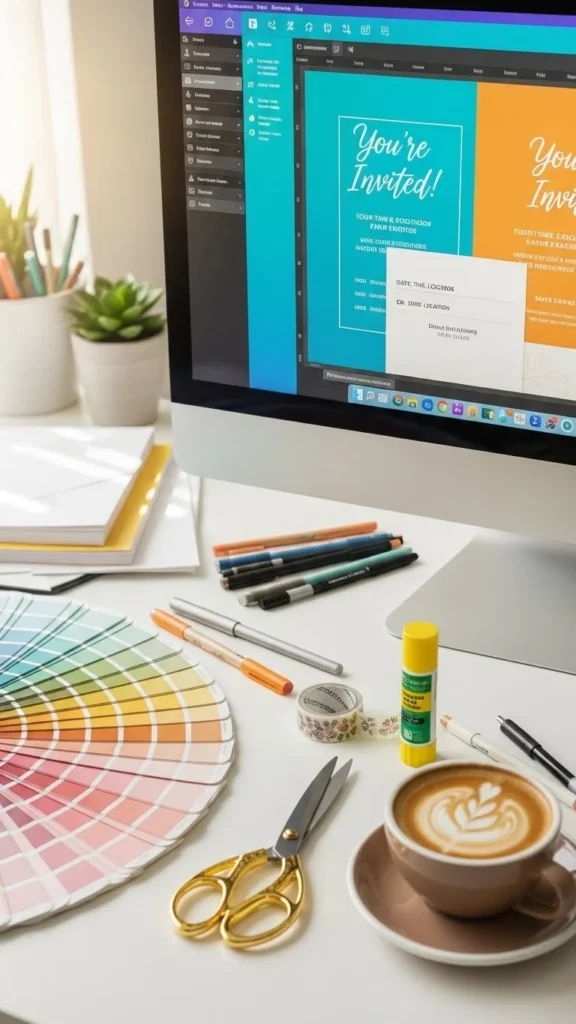
Design with Free Online Tools
You don’t need Adobe Illustrator to make something stunning. Free platforms like Canva, VistaCreate, or Adobe Express offer invitation templates you can easily customize.
Design Tips:
- Stick to two fonts: one for headings, one for details.
- Leave plenty of white space — it looks cleaner and more professional.
- Align your text consistently.
- Add your own photos, monogram, or event logo.
- Use color combinations that match your theme — soft blush and gold for weddings, or navy and silver for formal dinners.
Once your design feels polished, print a single test copy to check color accuracy and spacing before printing in bulk.
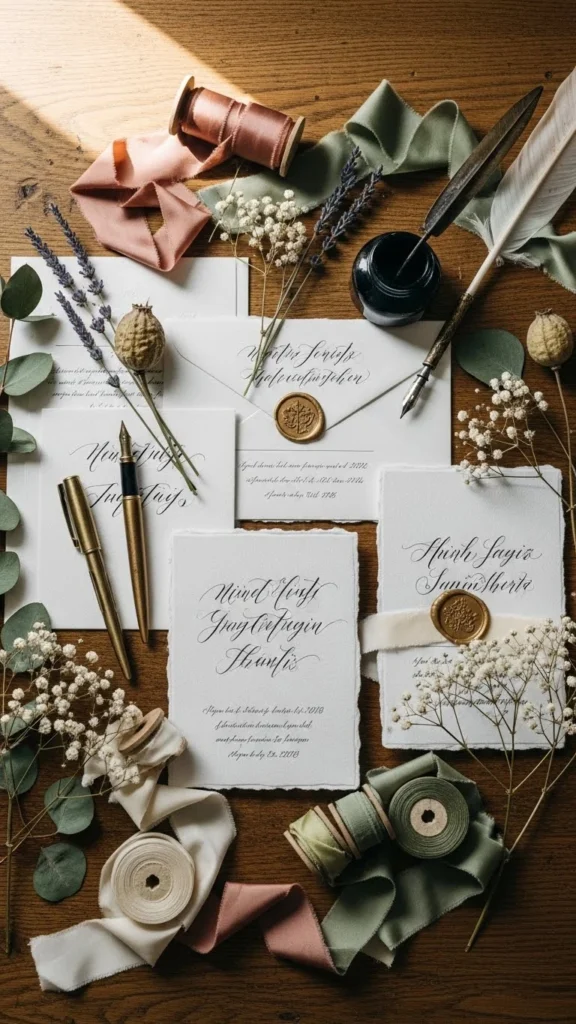
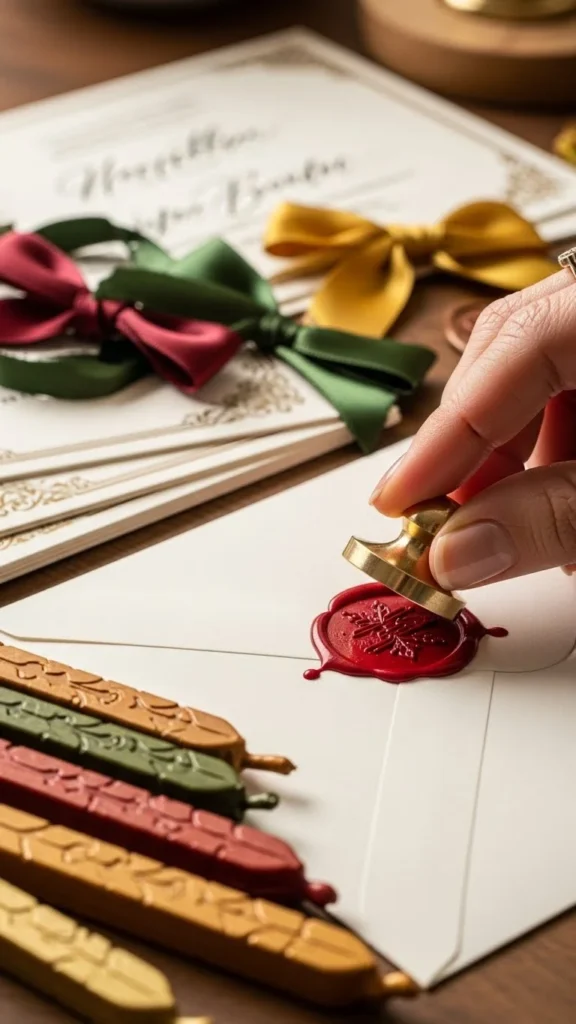
Add Finishing Touches That Wow
This is where your invitations truly shine. Simple embellishments can transform a nice invite into something people keep on their fridge.
Try These Ideas:
- Wax seals: Add a classic, elegant feel.
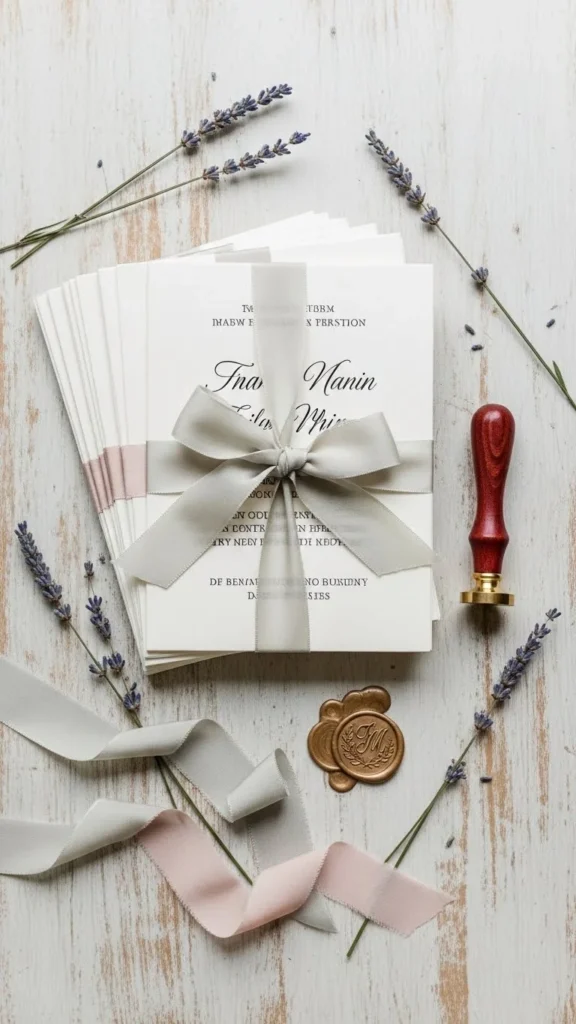
- Ribbon or twine ties: Perfect for rustic or romantic themes.
- Envelope liners: Use patterned paper to surprise guests when they open it.
- Rounded corners or deckled edges: Small cuts can make a big difference.
- Handwritten names: Write guest names by hand to add a personal touch.
If you have a Cricut or Silhouette cutting machine, use it for intricate borders or layered effects — it’s a small step that adds a lot of polish.
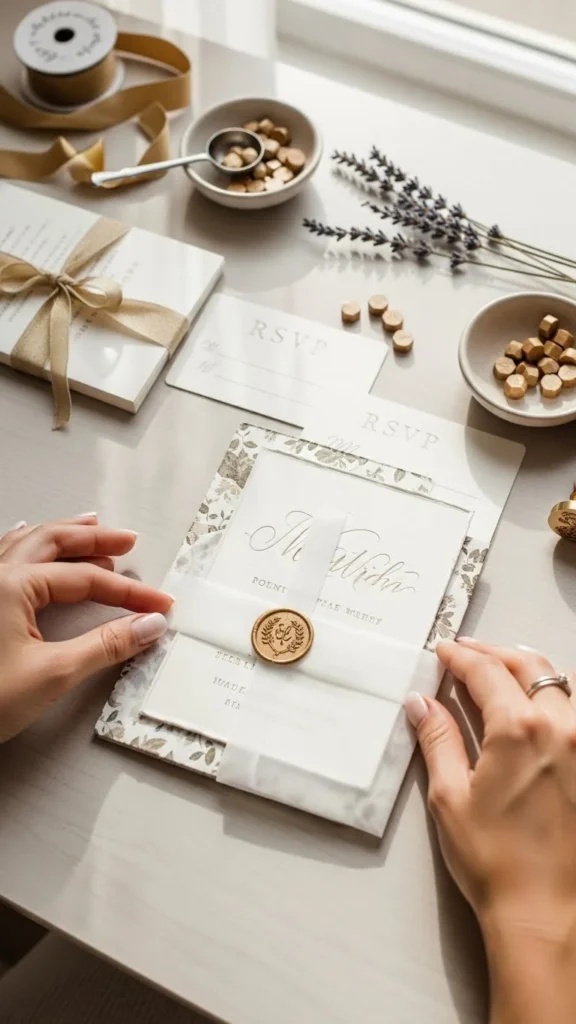
Print, Assemble, and Package with Care
After you’ve printed your invitations, trim each piece neatly and double-check for smudges or misalignments. Work in batches and handle prints with clean, dry hands.
Assembly Tips:
- Use double-sided tape for attaching layers — it looks cleaner than glue.
- Stack pieces (like RSVP cards and info sheets) from largest to smallest.
- Slip them into envelopes facing the same direction.
- Finish with your chosen embellishments.
If mailing them, weigh one completed invitation at the post office before buying stamps — decorative additions can affect postage!
Don’t Forget Digital Options
If you’re short on time or hosting a virtual event, consider sending digital invitations. Tools like Paperless Post and Canva make it easy to create and email beautiful designs while saving on printing and postage.
You can still make them personal by:
- Embedding a short video or slideshow
- Adding RSVP buttons
- Using your own custom domain or event link
It’s modern, eco-friendly, and surprisingly classy when done right.
Final Touch: A Thoughtful Presentation
If you’re hand-delivering your invitations, package them with flair — tuck them in mini kraft boxes or wrap them in tissue and twine. Presentation sets the mood even before the event starts.
Whether you’re creating wedding invites or birthday announcements, remember: the key to professional-looking DIY invitations is careful design and attention to detail. Every little touch — the paper texture, the font choice, the fold — tells your guests this event matters.
Save This Guide for Later!
Pin this article for your next party or wedding project, and remember — you can create professional, stunning invitations without spending a fortune.
Leave a Reply