
Planning a St Patrick’s Day event comes with a lot of moving parts. Whether it’s a school gathering, office celebration, neighborhood party, or family-friendly event, having a clear checklist saves time and stress. This guide walks you through practical items that help the day run smoothly without overspending. Each idea focuses on simple setups, easy DIY options, and realistic prep so you can focus on hosting instead of scrambling.
Event Theme & Color Palette
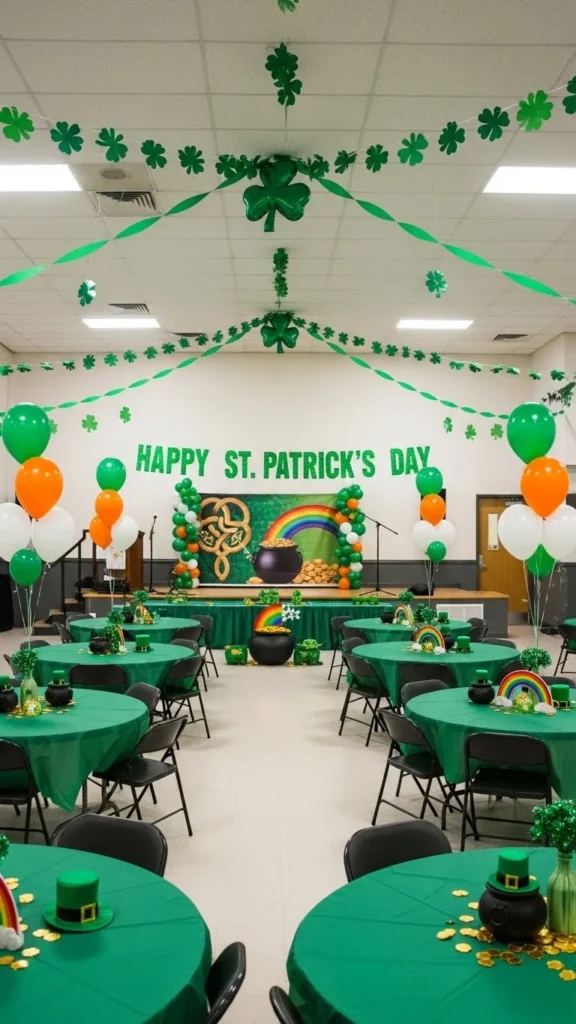
A clear theme makes every other decision easier. Pick two or three shades of green and pair them with white, gold-toned accents, or natural wood. This keeps shopping focused and avoids clutter. A simple theme works well for any budget. Think shamrocks, rainbows, or classic Irish-inspired decor without going overboard.
DIY tip: Use green paper, recycled cardboard, or fabric scraps to make banners and table accents. Thrift stores often carry green bowls, frames, or cloth runners that fit the palette. When the colors match, even basic items feel pulled together. Keep the theme visible across tables, walls, and entry points for a cohesive look guests notice right away.
Printable Event Checklist
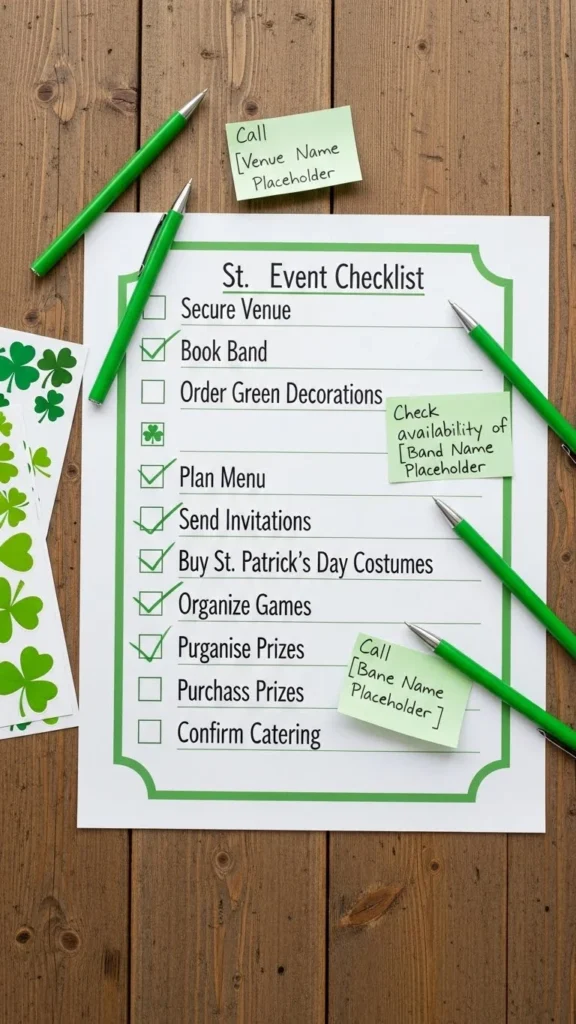
A printed checklist keeps planning on track. Write down tasks by week or day so nothing slips through the cracks. Paper lists work well during busy prep when screens feel distracting. Hang one in the kitchen or planning area so helpers can check items off.
Budget idea: Print in black and white and add green highlights with markers. Slip the list into a clear sleeve so you can reuse it with a dry-erase marker. Sharing copies with helpers avoids repeated questions and keeps everyone aligned.
Invitations or Event Flyers
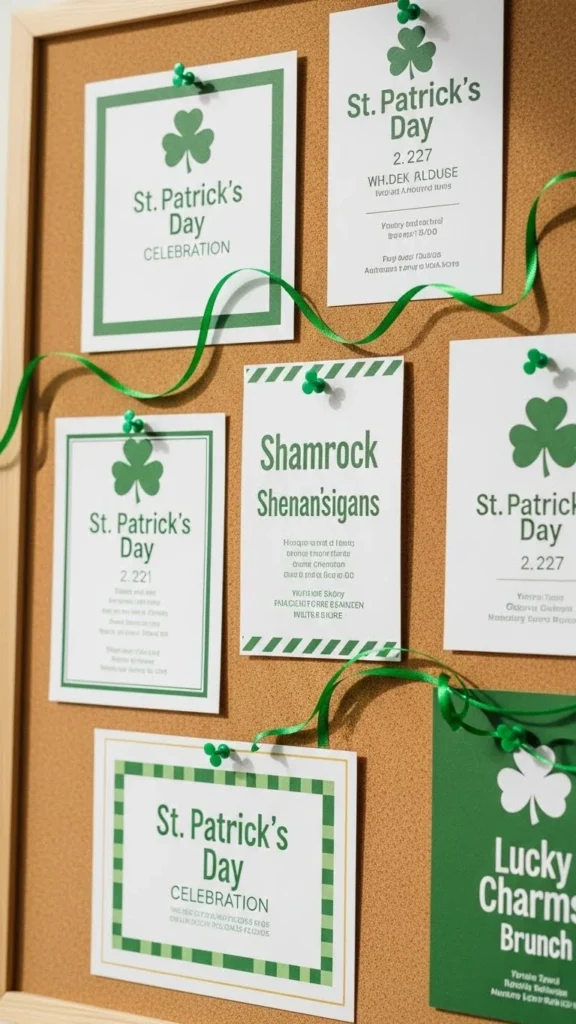
Clear invitations set expectations early. Include date, time, location, dress theme, and whether guests should bring anything. Digital invites work well for speed. Printed flyers help in schools or community spaces.
DIY option: Use free design tools and print at home. Add a green border or clover icon for a festive touch. Simple wording avoids confusion and reduces follow-up messages.
Entryway Welcome Decor
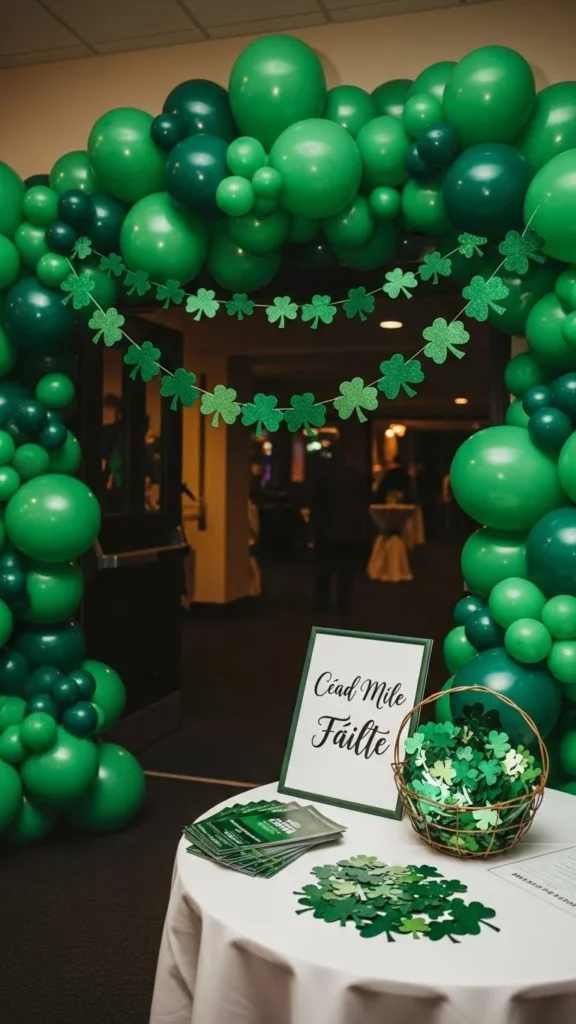
First impressions matter. A decorated entry signals celebration right away. Use balloons, paper garlands, or a simple welcome table with themed decor. This area also helps guide guests where to go.
Budget tip: Balloon clusters in two shades of green create impact without large costs. Paper chains made by kids or volunteers add charm and save money.
Table Coverings & Linens
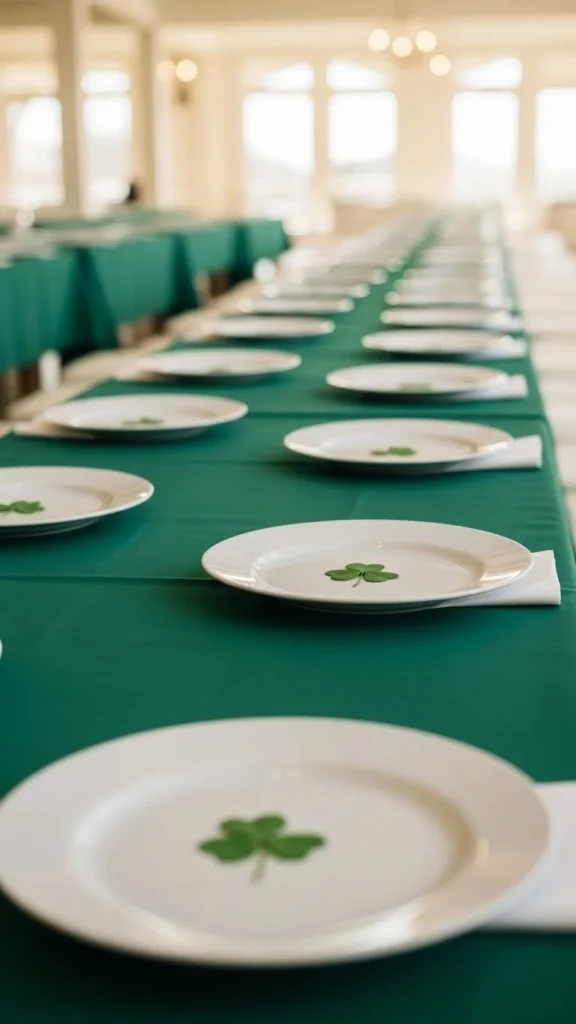
Tables take up visual space, so covering them changes the whole room. Plastic or fabric cloths both work. Stick to solid colors to avoid visual overload.
DIY idea: Kraft paper rolls make easy table covers. Let guests draw shamrocks or rainbows as part of the activity. It doubles as decor and entertainment.
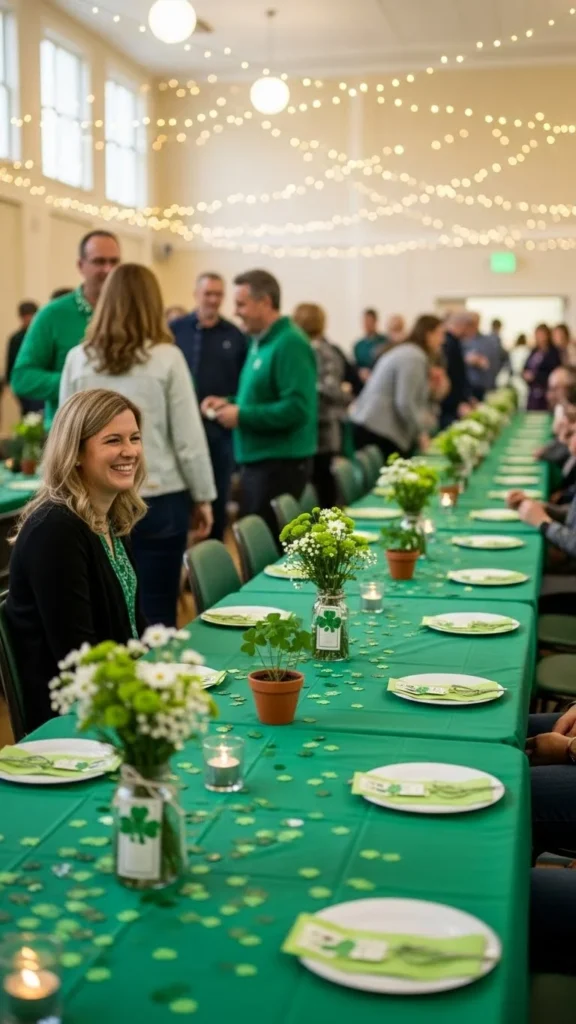
Centerpieces
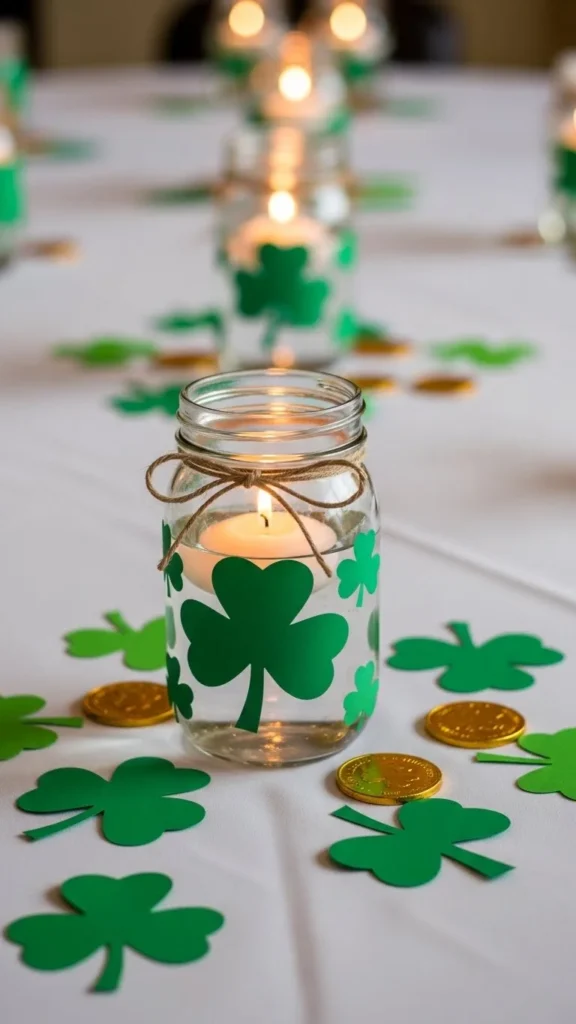
Centerpieces do not need to be tall or expensive. Mason jars with paper clovers, green beads, or battery candles work well. Keep them low so guests can talk easily.
Cost saver: Reuse jars from home. Wrap them with ribbon or paint a small clover on the front. Grouping three small items often looks better than one large piece.
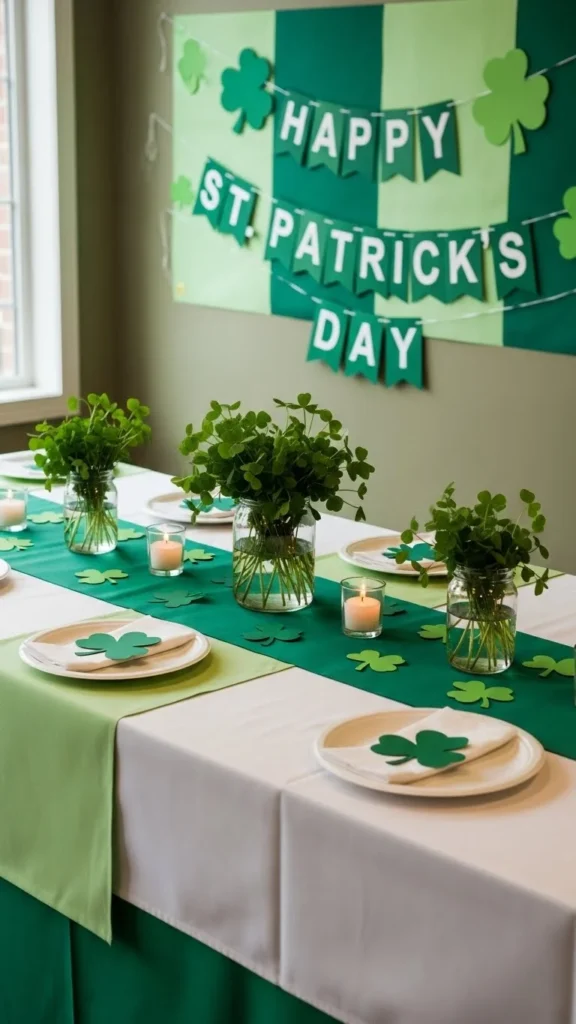
Wall & Hanging Decorations
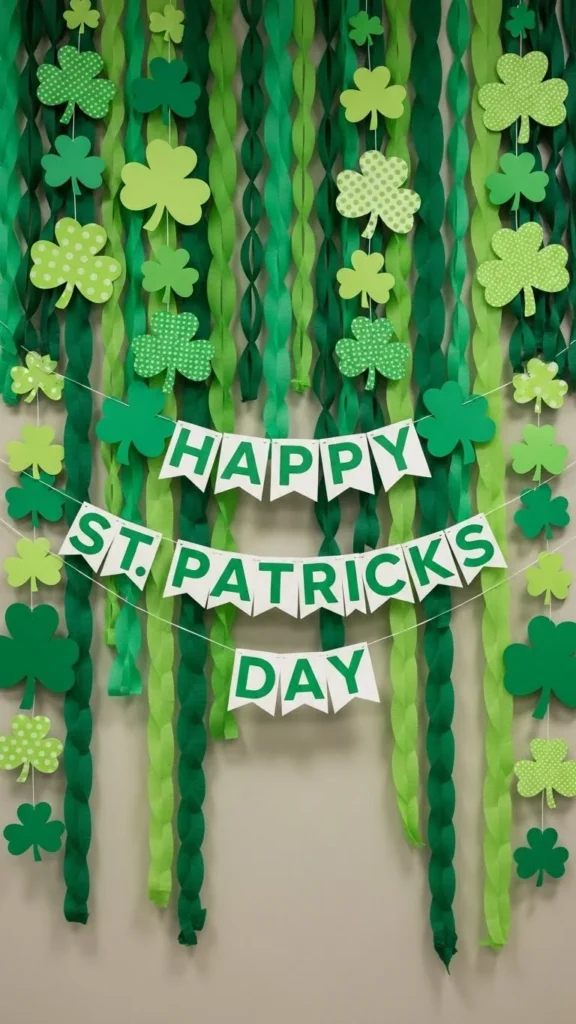
Bare walls make spaces feel unfinished. Hang paper cutouts, streamers, or banners along walls and doorways. Focus on high-traffic areas for the best impact.
DIY tip: Cut shamrocks from green construction paper. String them with twine for quick garlands. This is an easy task for kids or helpers.
Lighting Setup
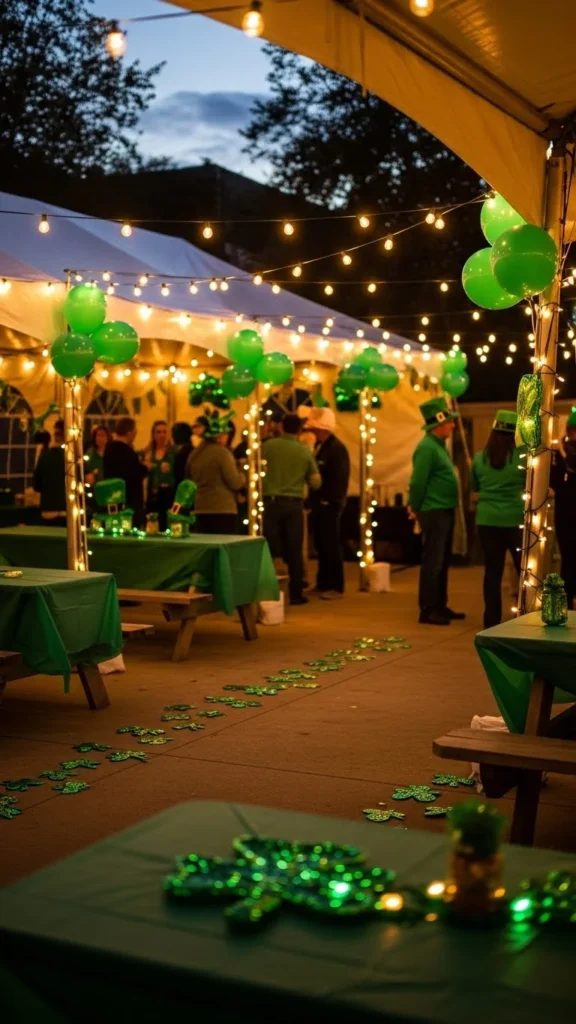
Lighting sets mood without words. String lights soften large rooms and make gatherings feel welcoming. Battery-operated options avoid outlet issues.
Budget option: Use lights already owned for holidays. Focus on corners, food tables, and entry points to guide movement naturally.
Food Serving Table Layout
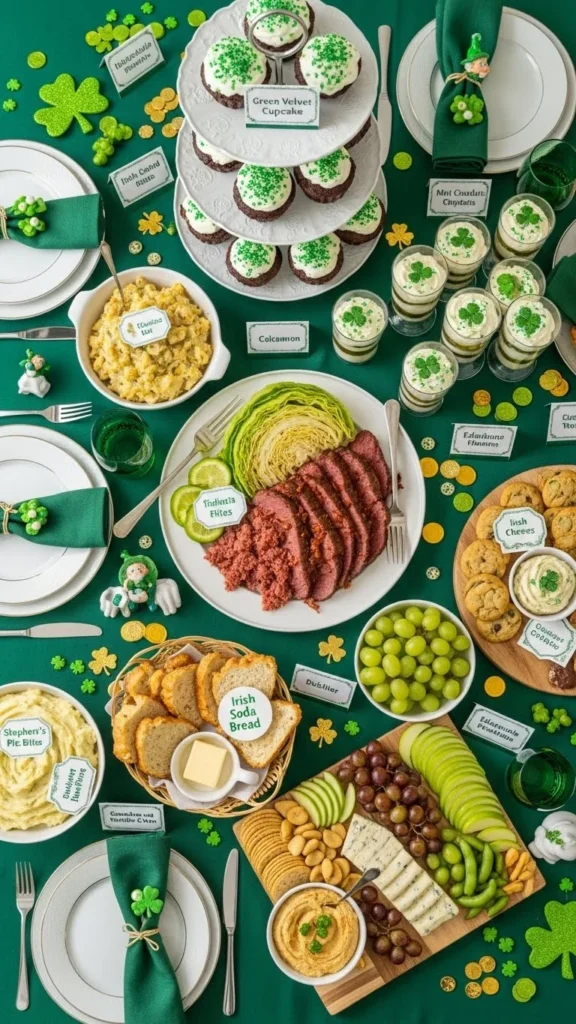
Plan the food table early. Leave space for lines and traffic flow. Group items by type to reduce crowding.
DIY labels: Handwrite food labels on index cards with green markers. Place them in small holders or tape them to stands. Clear labeling speeds things up.
Reusable Plates & Utensils
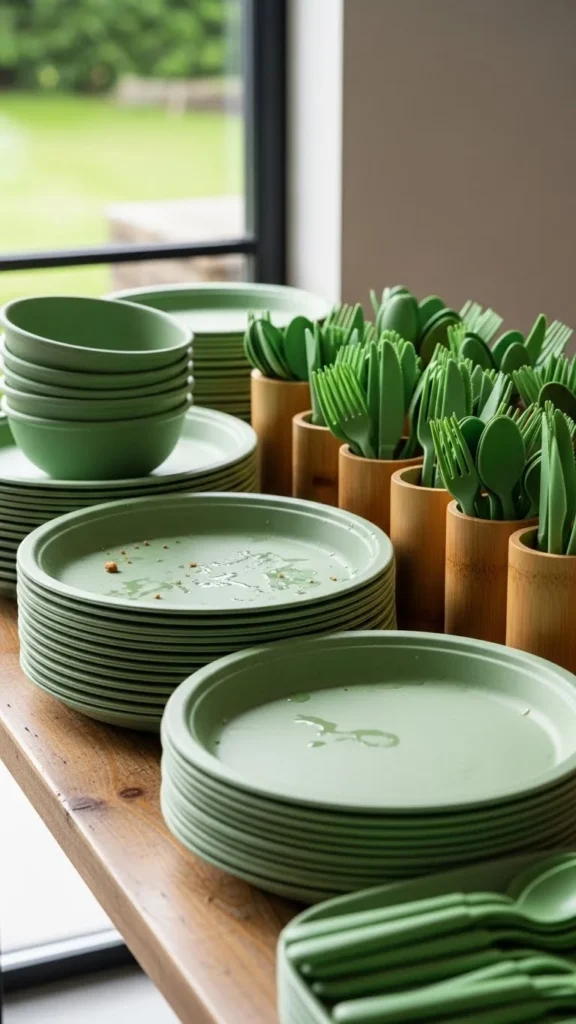
Reusable items save money over time and reduce waste. If disposables are used, keep colors simple to match the theme.
Cost tip: Ask guests to bring a plate or cup if appropriate. For smaller gatherings, mixing items from home works fine.
Drink Station Setup
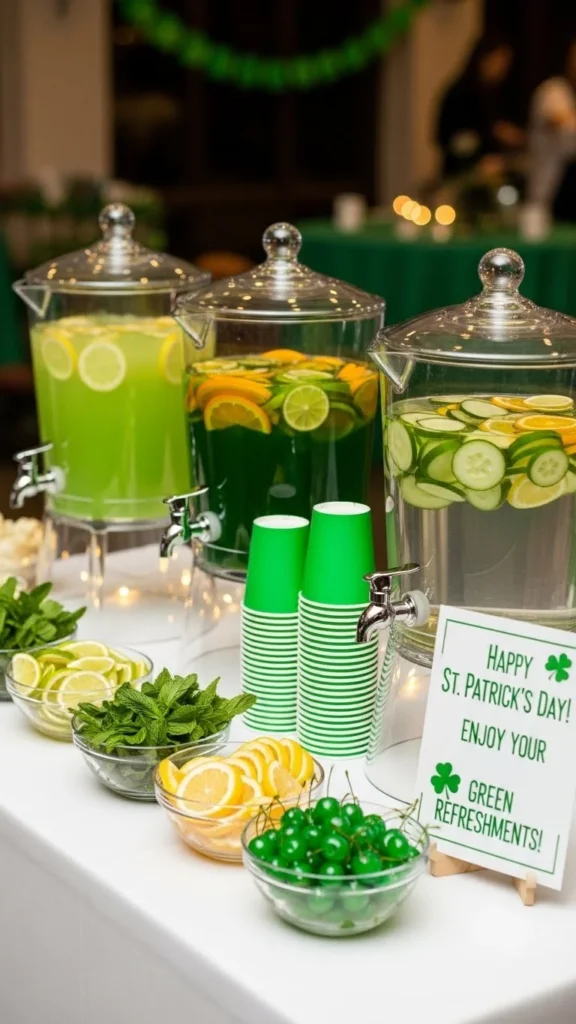
A self-serve station reduces hosting work. Use water dispensers with citrus or mint for color. Keep cups nearby and napkins stocked.
Budget idea: Repurpose large jars or pitchers. Add green tags so guests know where to help themselves.
Trash & Recycling Bins
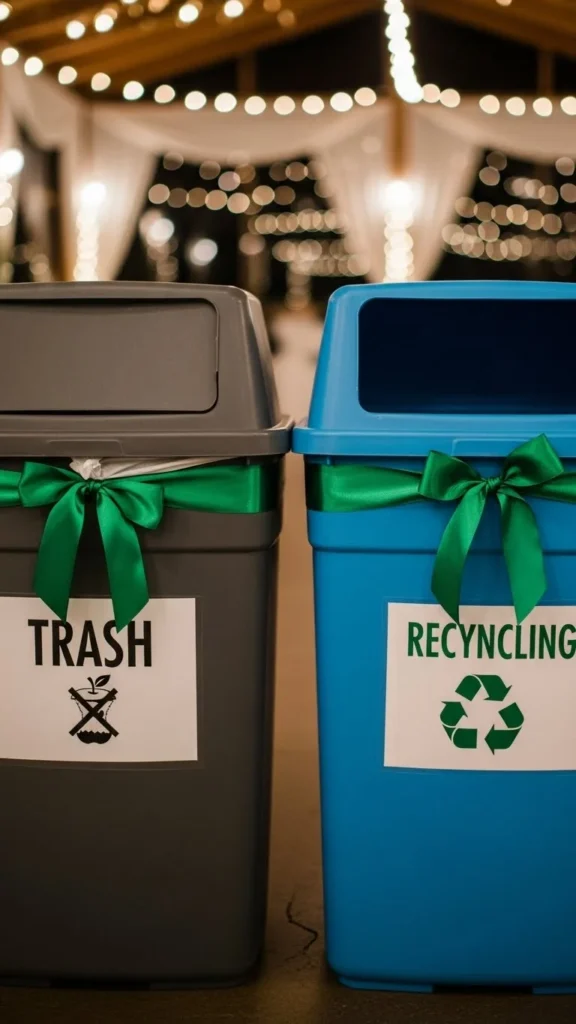
Visible bins keep spaces tidy. Place them near food and exits. Simple signs help guests sort items correctly.
DIY labels: Print icons or draw symbols on paper. Tape them securely to bins for quick recognition.
Activity & Game Supplies
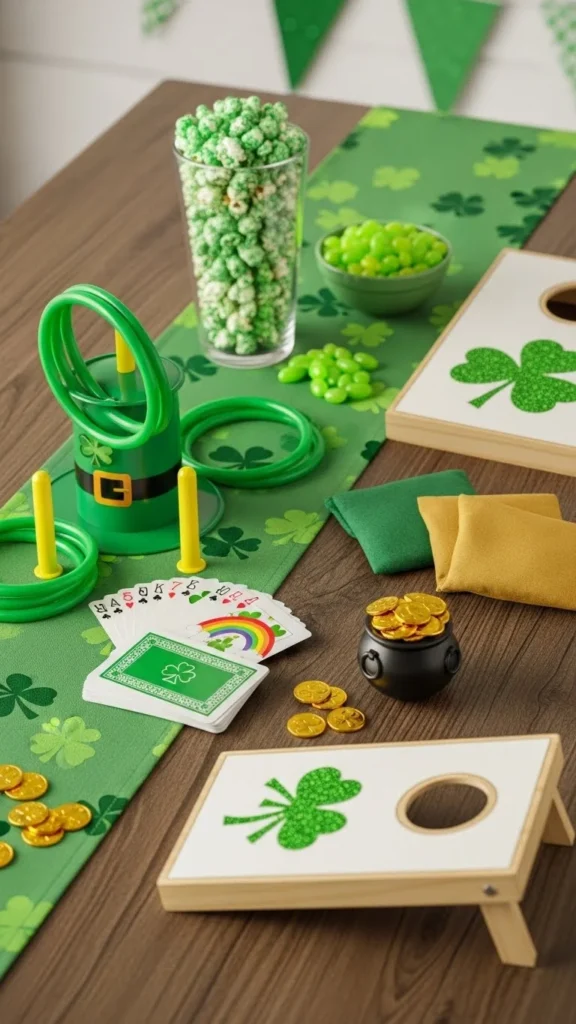
Games keep energy up. Choose activities that fit your crowd. Ring toss, scavenger hunts, or trivia work well.
Cost saver: Make game pieces from cardboard or paper. Reuse items from past events to avoid new purchases.
Kids’ Craft Station
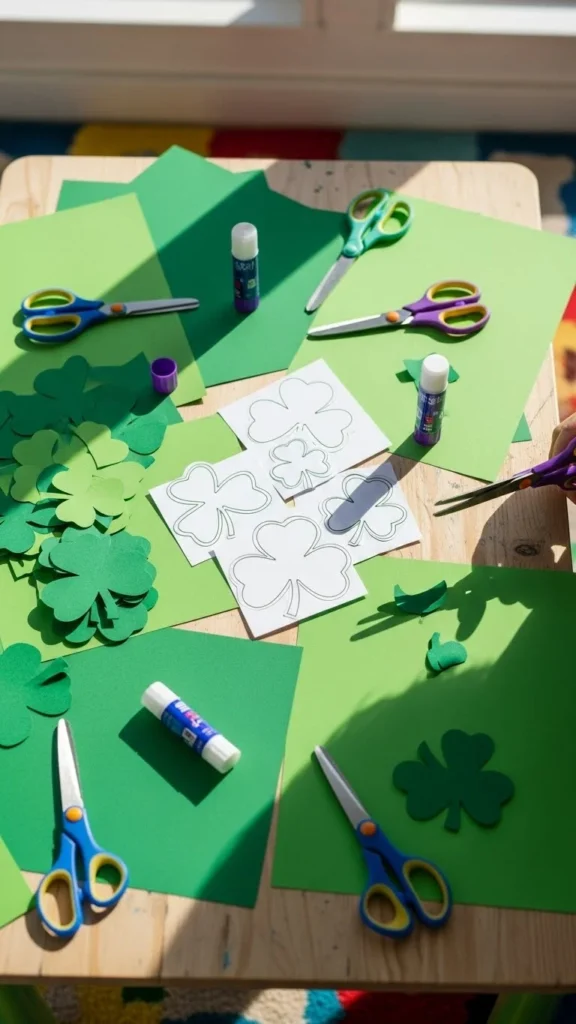
Craft stations keep kids busy and happy. Provide simple supplies and clear examples. Keep it easy to clean.
DIY idea: Print clover templates on scrap paper. Offer crayons or stickers instead of messy materials.
Music Playlist
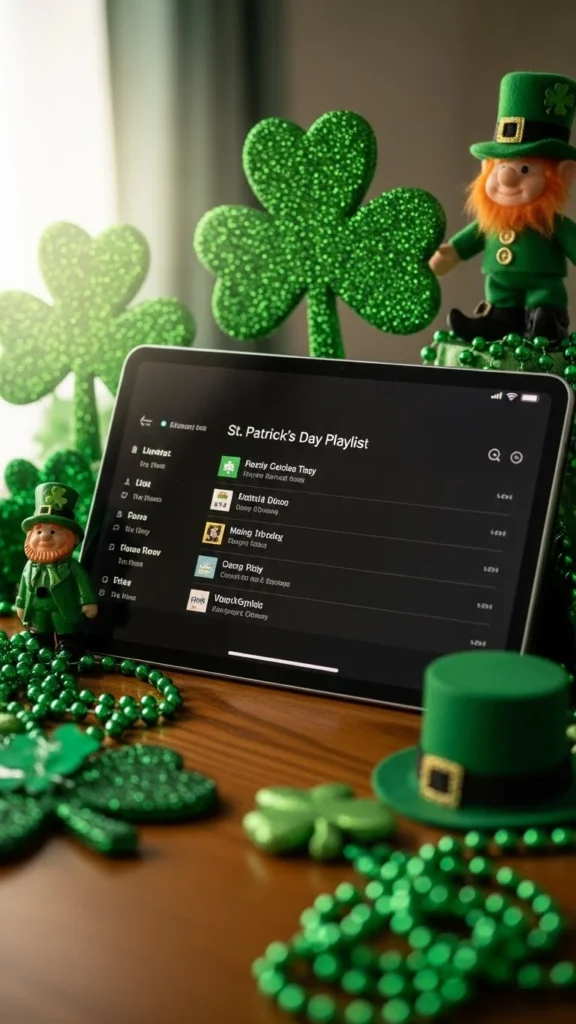
Music fills quiet gaps and sets pacing. Create a playlist ahead of time so you are not adjusting during the event.
Free option: Use existing playlists and adjust volume based on room size. Keep it background-level for easy conversation.
Signage & Directional Signs
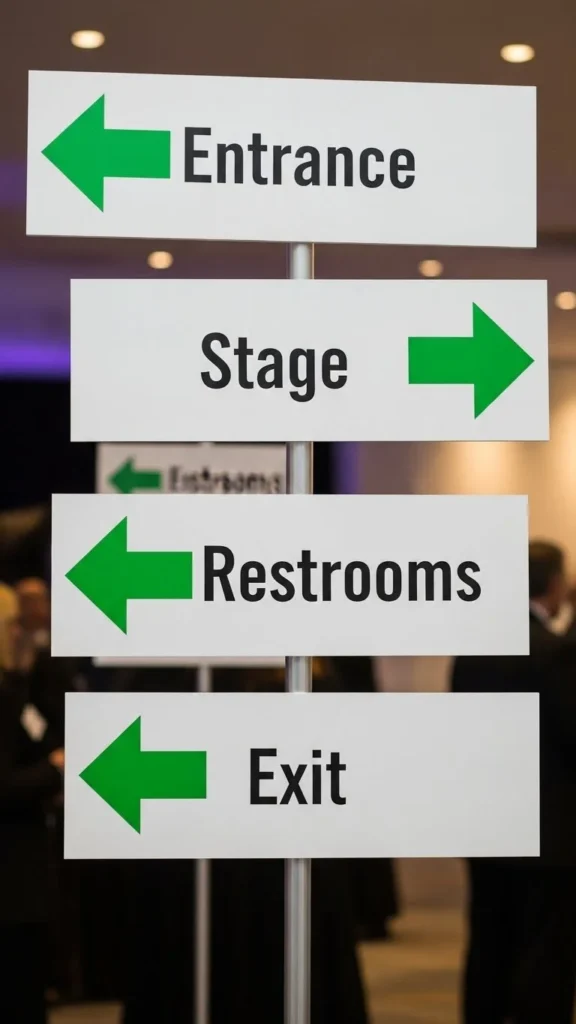
Signs reduce confusion. Label restrooms, activity areas, and food tables clearly.
DIY tip: Use poster board and markers. Tape signs at eye level so guests notice them easily.
Photo Spot Setup
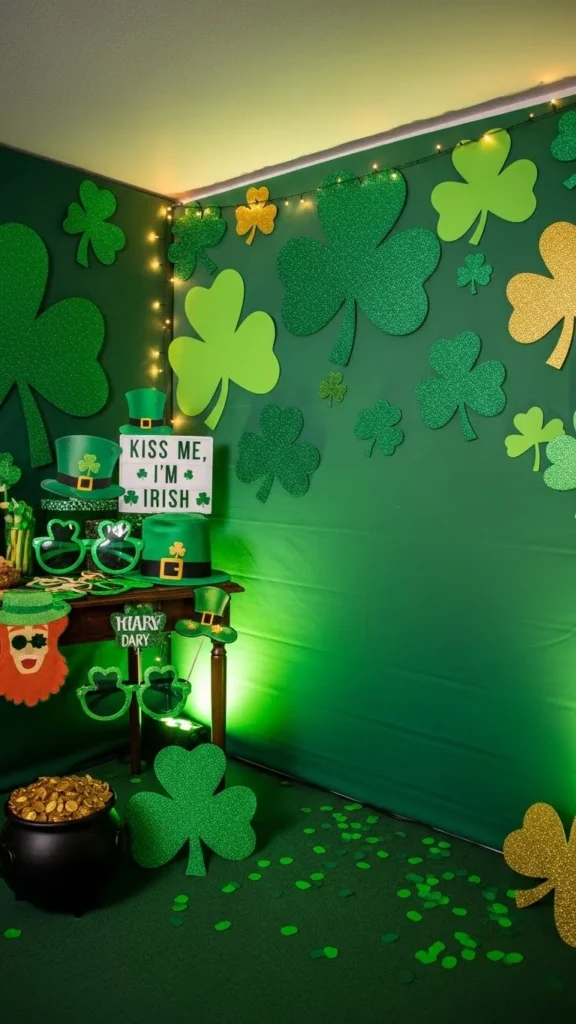
Photo spots encourage sharing memories. A green backdrop and a few props are enough.
Budget option: Hang a green sheet or paper roll. Cut props from cardboard and attach to sticks.
Volunteer or Helper Assignments
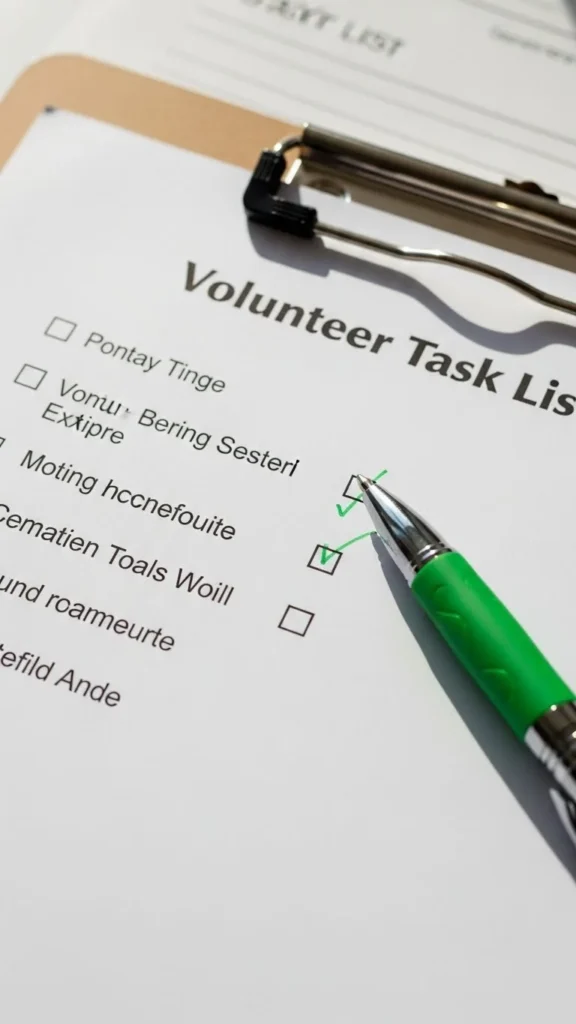
Assigning tasks keeps things running smoothly. List who handles setup, food, games, and cleanup.
Tip: Keep roles simple. One clear task per person avoids overlap and confusion.
Event Schedule Sheet
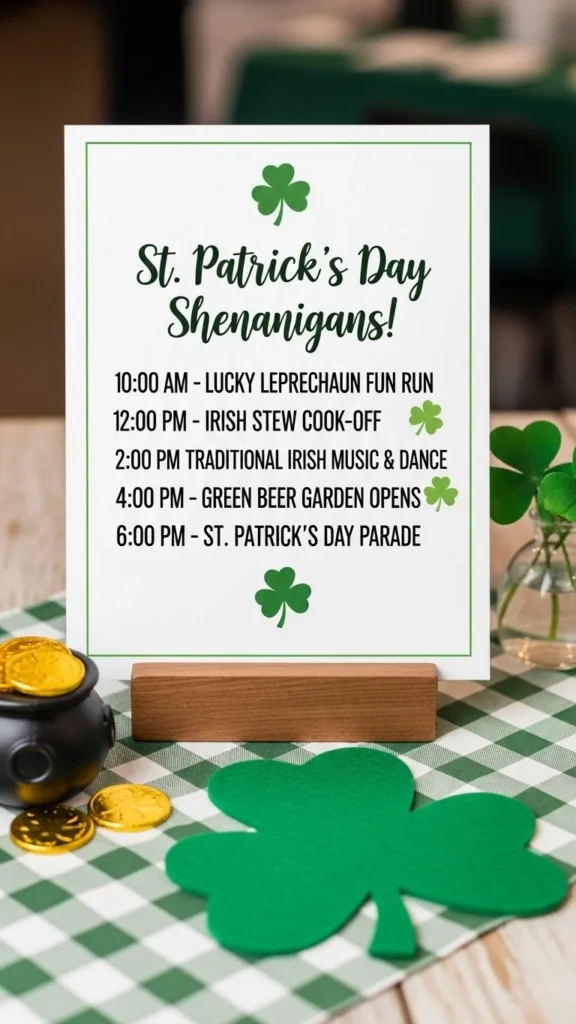
A loose schedule keeps the day moving. List start times for activities without packing too much in.
DIY idea: Print one-page schedules and place them near the entrance or food table.
Emergency & First Aid Kit
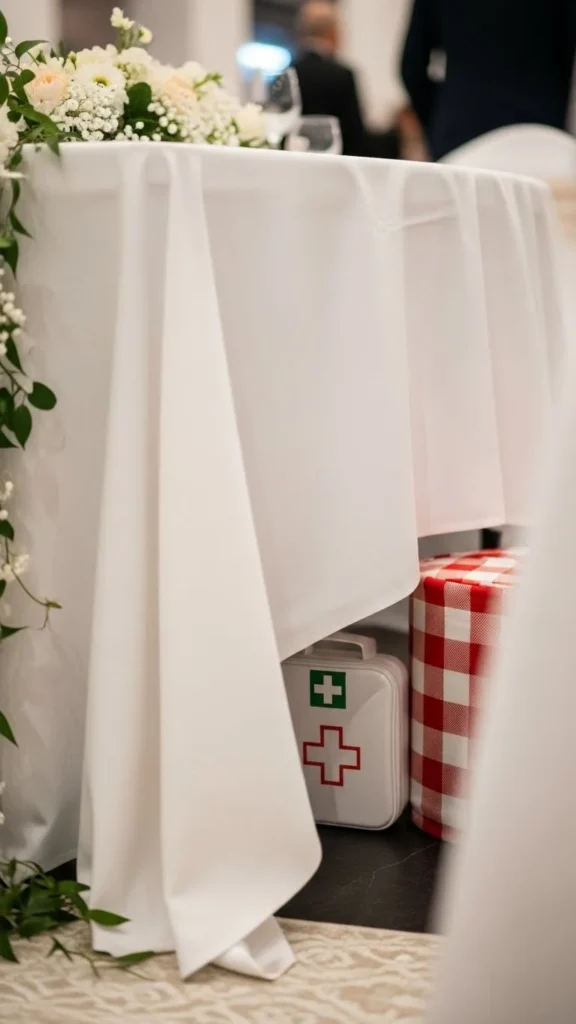
Accidents happen. Keep basic supplies nearby and easy to reach.
Cost saver: Use a home kit and restock items after the event.
Cleanup Supplies
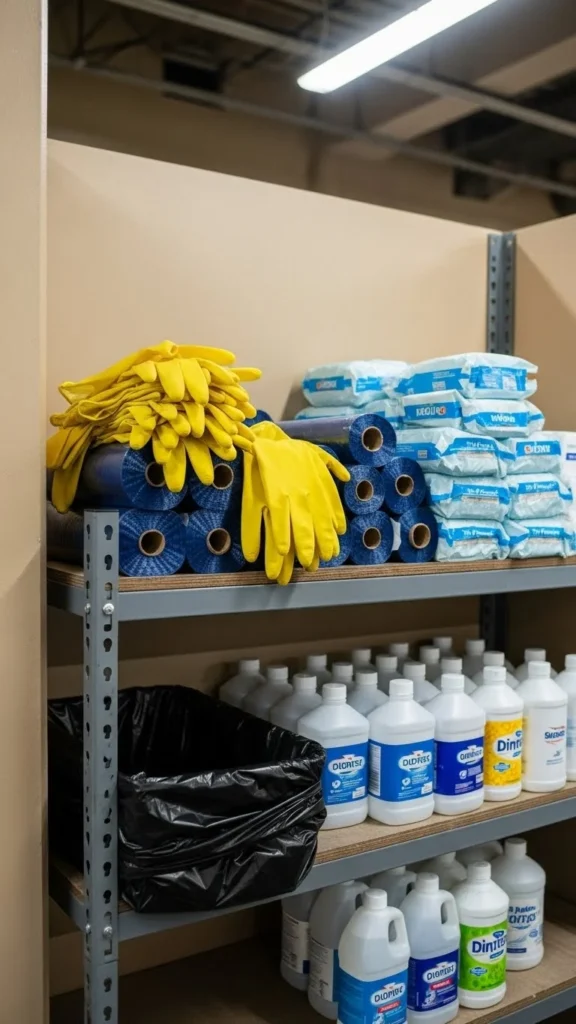
Cleanup goes faster with a plan. Have bags, gloves, and wipes ready before the event starts.
Tip: Assign cleanup teams early so everyone knows when to help.
Thank-You Notes or Take-Home Favors
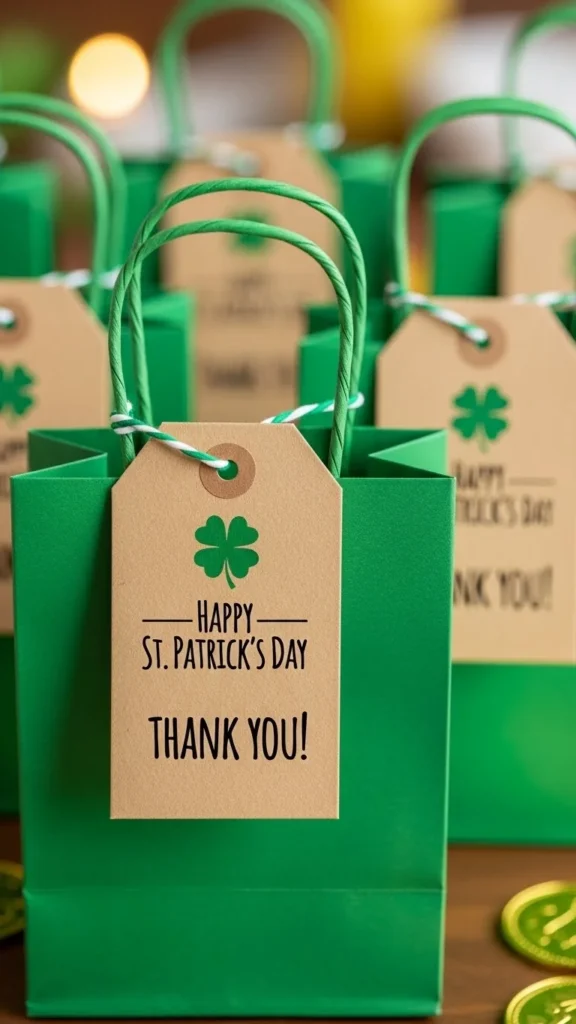
Small take-home items leave a good impression. Stickers, crafts, or notes work well.
DIY option: Print thank-you tags and tie them with string. Keep favors simple and light.
Weather Backup Plan
If any part is outdoors, plan an indoor option. Rearranging tables or moving games inside keeps plans flexible.
Tip: Decide the backup location early and share it with helpers.
Final Walkthrough Checklist

Before guests arrive, walk through the space. Check tables, bins, signs, and supplies.
This last pass catches small gaps and helps you relax once the event begins.
Conclusion
A clear St Patrick’s Day event checklist turns planning into a manageable process. Each item here supports smooth flow, easy setup, and realistic spending. By preparing early and using simple DIY ideas, you create a welcoming space without extra pressure. Save this guide, share it with helpers, and enjoy hosting a celebration that feels organized from start to finish.

Leave a Reply